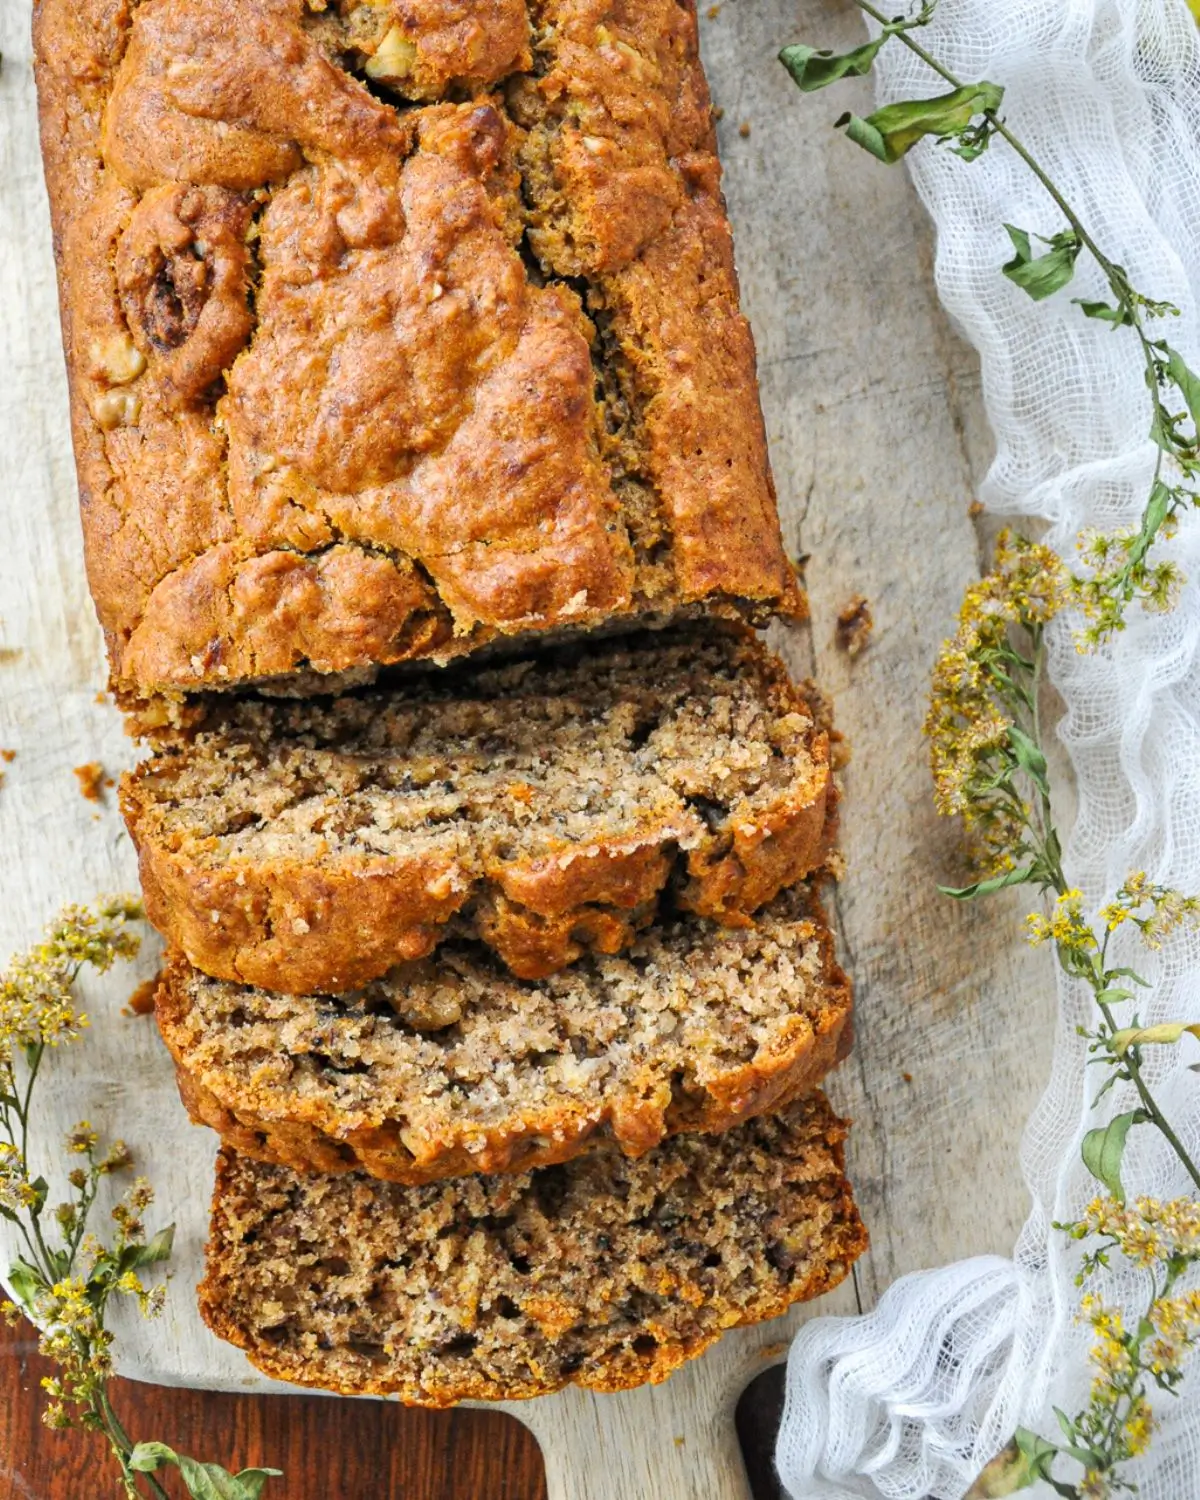
Ultimate Classic Vegan Banana Bread
Introduction: The Cozy Comfort of American Plant-Based Baking
There are few aromas as universally welcoming, nostalgic, and deeply comforting as the scent of freshly baked banana bread wafting through a kitchen. In American culinary and home-baking culture, banana bread holds a cherished place as the ultimate way to transform overripe, speckled bananas into a rich, moist, and utterly irresistible treat. Whether enjoyed as a cozy morning breakfast slice with a cup of coffee or served as an afternoon pick-me-up snack, this quick bread is a timeless classic.
Adapting this iconic comfort food for a 100% plant-based, vegan lifestyle without sacrificing an ounce of its signature buttery moisture, tender crumb, and deep caramelized flavor is an absolute triumph. In this comprehensive guide, written with the precision of a professional baker, we will walk you through crafting a restaurant-quality Vegan Banana Bread that will satisfy your cravings and impress your readers.
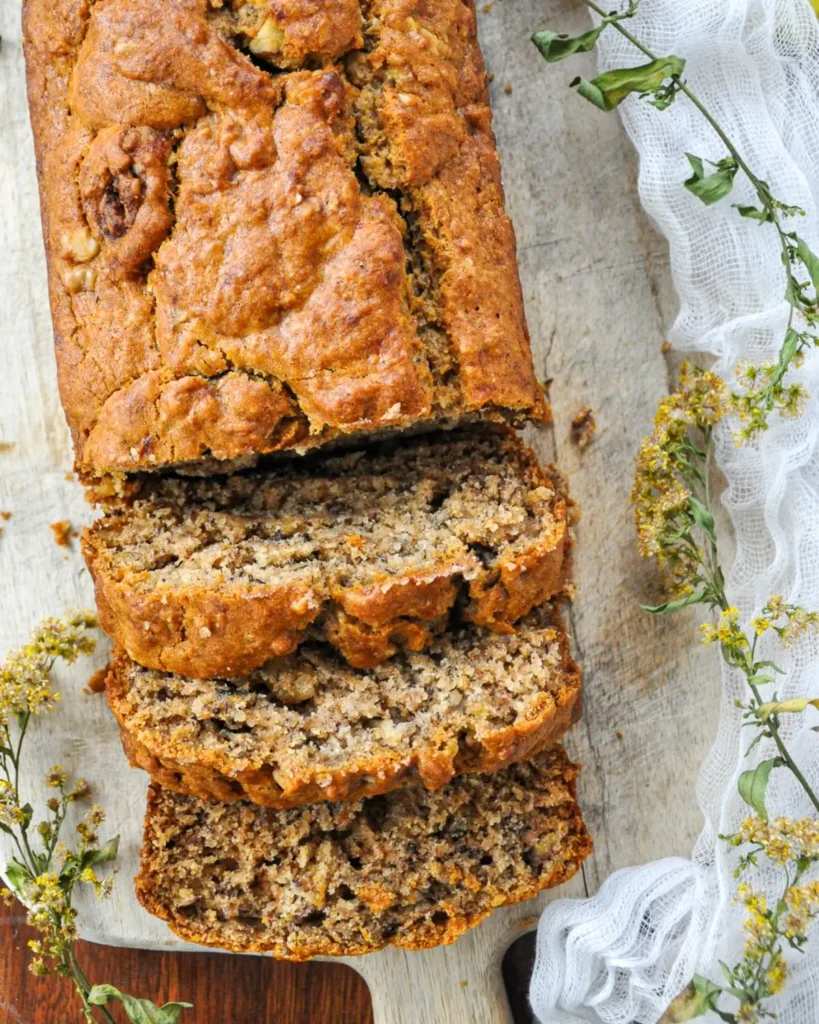
Whether your audience is searching for easy baking projects, wholesome plant-based breakfast ideas, or gourmet vegan desserts, this recipe delivers maximum flavor, a gorgeous golden-brown crust, and a tender, moist interior that rivals any traditional bakery preparation. The art of great vegan baking relies on understanding how plant-based fats, leaveners, and overripe fruit interact to create structure and richness without the need for dairy or eggs.
Why This Recipe Works: The Baker’s Secret
Traditional banana breads rely heavily on eggs for binding and structure, and dairy butter for richness. To replicate—and even elevate—that superior texture and flavor profile using strictly plant-based ingredients, a professional baker must master three key architectural elements:
- The Power of Overripe Bananas: The key to great banana bread is using bananas that are heavily speckled with brown and black spots. As bananas ripen, their starches convert into natural sugars, providing natural sweetness, deep flavor, and crucial moisture that acts as a natural binder.
- The Vegan Buttermilk Reaction: By whisking plant-based milk (such as almond or soy milk) with apple cider vinegar, we create a homemade vegan buttermilk. When this acidic mixture reacts with baking soda, it releases carbon dioxide bubbles, creating a light, airy rise and a tender crumb.
- Fats and Moisture Balance: Combining melted vegan butter with a touch of neutral vegetable oil or coconut oil gives you the rich, buttery flavor of traditional baking alongside the long-lasting moisture that prevents the loaf from drying out over several days.
Equipment Needed
- 9×5-inch loaf pan
- Parchment paper for lining
- Large mixing bowls (one for dry, one for wet ingredients)
- Whisk and rubber spatula
- Measuring cups and spoons
- Toothpick or cake tester (for doneness)
Ingredients List
Yields: 1 standard 9×5-inch loaf (approx. 10 slices) | Prep time: 15 minutes | Bake time: 55 to 65 minutes
For the Dry Ingredients:
- 2 cups all-purpose flour (spooned and leveled)
- 1 teaspoon baking soda
- 1/2 teaspoon baking powder
- 1/2 teaspoon ground cinnamon
- 1/4 teaspoon ground nutmeg
- 1/2 teaspoon fine sea salt
For the Wet Ingredients:
- 1 cup mashed overripe bananas (about 3 large or 4 medium bananas, heavily speckled)
- 1/2 cup organic granulated sugar (or light brown sugar for a deeper caramel note)
- 1/3 cup pure maple syrup (adds moisture and rich flavor)
- 1/3 cup melted vegan butter (or neutral coconut oil / vegetable oil)
- 1/3 cup unsweetened plant-based milk (almond, oat, or soy milk)
- 1 tablespoon apple cider vinegar (to create vegan buttermilk)
- 2 teaspoons pure vanilla extract
Optional Fold-Ins & Topping:
- 1/2 cup dairy-free dark chocolate chips or chopped walnuts (optional)
- 1 small banana (cut lengthwise) for placing on top of the loaf before baking
Step-by-Step Instructions: The Professional Method
Step 1: Prep and Preheat the Oven
- Preheat your oven to 350°F (175°C).
- Grease a standard 9×5-inch loaf pan lightly with vegan butter or cooking spray, then line it with a strip of parchment paper leaving overhangs on the sides. This ensures you can easily lift the baked loaf out later.
Step 2: Create the Vegan Buttermilk
- Measure your unsweetened plant-based milk into a small bowl and stir in the 1 tablespoon of apple cider vinegar.
- Set it aside for 5 minutes until it curdles slightly. This chemical reaction is essential for giving your vegan bread its lift and tender crumb.
Step 3: Whisk the Dry Ingredients
- In a large mixing bowl, combine the all-purpose flour, baking soda, baking powder, ground cinnamon, ground nutmeg, and fine sea salt.
- Whisk thoroughly for 30 seconds to ensure the leaveners and spices are evenly distributed throughout the flour.
Step 4: Mix the Wet Ingredients
- In a separate, larger mixing bowl, combine the mashed overripe bananas, granulated sugar, pure maple syrup, melted vegan butter, prepared vegan buttermilk mixture, and pure vanilla extract.
- Whisk vigorously until the wet ingredients are completely smooth and well-incorporated.
Step 5: Combine Wet and Dry Mixtures
- Pour the wet banana mixture into the bowl of dry ingredients.
- Using a rubber spatula, gently fold the ingredients together using broad, sweeping strokes just until the flour disappears. Do not overmix, as overworking the batter develops gluten and results in a tough, rubbery loaf. A few small lumps in the batter are completely fine.
- If you are adding dark chocolate chips or chopped walnuts, gently fold them in during the very last stroke.
Step 6: Pour, Top, and Bake
- Pour the thick banana bread batter into your prepared 9×5-inch loaf pan, smoothing the top with your spatula.
- If desired, press a small banana sliced lengthwise cut-side up right down the center of the top batter for a gorgeous bakery-style presentation.
- Bake on the center rack of your preheated oven for 55 to 65 minutes. To test for doneness, insert a wooden toothpick or cake tester into the center of the loaf; it should come out clean or with a few moist crumbs attached, but no wet batter.
Step 7: Cool Properly
- Remove the loaf pan from the oven and let the banana bread cool directly in the pan for 15 minutes.
- Using the parchment paper overhangs, gently lift the loaf out of the pan and transfer it to a wire cooling rack. Let it cool completely for at least 30 to 45 minutes before slicing to allow the crumb structure to set properly.
Pro Chef Tips for Success
- The Ripeness Rule: Never use yellow or firm bananas. Your bananas must have dark brown spots or be mostly black on the peel. The riper the banana, the sweeter and more flavorful your bread will be.
- Flour Measuring: Always spoon your flour into the measuring cup and level it off with a knife. Scooping directly out of the bag packs the flour down, leading to a dry, dense loaf.
- Preventing Over-Browning: If you notice the top of your banana bread browning too quickly during the 55-minute mark while the center is still baking, loosely tent a sheet of aluminum foil over the top for the remaining baking time.
Comprehensive Storage, Freezing, and Reheating Guide
Knowing how to properly store and preserve your Vegan Banana Bread ensures that you can enjoy its rich, moist taste days or even months later without losing any of its texture or flavor profile. Follow these professional guidelines:
1. Storing at Room Temperature and Refrigerator
- Room Temperature Storage: Once completely cooled, wrap the loaf tightly in plastic wrap or store it in an airtight container at room temperature for 2 to 3 days. The moisture from the bananas keeps it naturally tender.
- Refrigerator Storage: To extend its freshness for up to 5 to 7 days, store the wrapped loaf in the refrigerator.
- Pro Tip: To recapture that fresh-out-of-the-oven warmth, slice a piece and pop it into a toaster oven or microwave for 15 to 20 seconds. Slather with a little vegan butter for an incredible treat!
2. Freezing the Banana Bread (Long-Term Storage)
- Freezing Whole or in Slices: Banana bread freezes exceptionally well. You can freeze the entire baked loaf or slice it first so you can thaw individual portions on demand.
- Wrapping for Freezer: Wrap individual slices tightly in plastic wrap, then place them inside a heavy-duty freezer-safe bag or container. Wrap a whole loaf in a layer of plastic wrap followed by aluminum foil.
- Freezer Life: Properly stored, the banana bread can be frozen for up to 3 months.
- Thawing Process: Transfer frozen slices or the whole loaf to the refrigerator overnight to thaw safely, or microwave a single frozen slice for 30 to 45 seconds until warm.
Nutritional Information (Estimated per Serving)
- Calories: 260 kcal
- Carbohydrates: 44 g
- Protein: 4 g
- Fat: 8 g
- Sodium: 210 mg
- Fiber: 2 g
(Note: Nutritional values can vary slightly depending on the specific brands of plant-based milk, vegan butter, and sweeteners used).
Frequently Asked Questions (FAQs)
Can I make this recipe gluten-free?
Yes! You can substitute the all-purpose flour with a 1:1 baking gluten-free flour blend (ensure it contains xanthan gum). Keep in mind that gluten-free baked goods can sometimes require an extra 5 minutes in the oven, so check carefully with a toothpick.
Why did my banana bread sink in the middle?
A sunken center usually happens for three reasons: opening the oven door too early during the first 30 minutes of baking, overmixing the batter which destabilizes the rise, or using expired baking soda/powder. Make sure your leaveners are fresh and avoid opening the oven prematurely!
Can I make muffins instead of a loaf?
Absolutely! This exact batter can be poured into a lined 12-cup muffin tin. Adjust your baking time down to 18 to 22 minutes at 350°F (175°C) until a toothpick inserted into the center comes out clean.